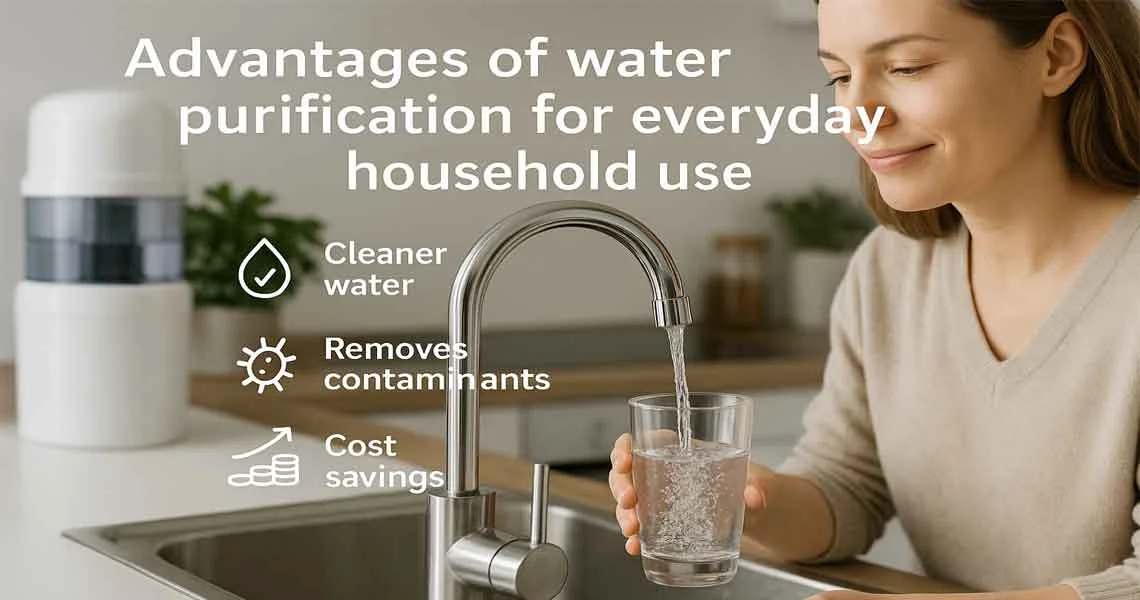
Proper hygiene includes providing clean and safe water for people’s health.
However, when municipal water sources could be sources of potential contaminants, homeowners are relying on home drinking water filtration systems to address potential water filtration problems. These systems offer cheap and effective ways to eliminate bacteria and impurities from tap water and improve its taste.
1. Water Concerns
2. Filtration Technology
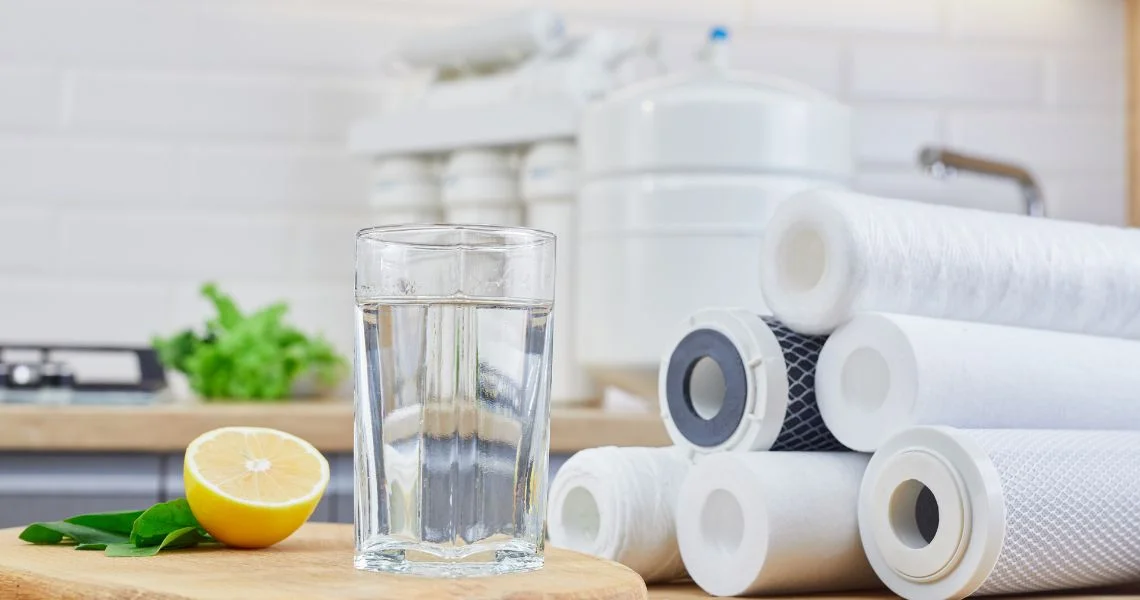
- Reverse Osmosis (RO) is highly effective in reducing suspended and dissolved substances, which makes it a popular choice for those seeking a water filtration system in Pensacola, FL . This technology effectively removes contaminants, though it may require additional equipment to restore minerals.
- Activated Carbon eliminates chlorine, tastes, and odours classified as taste-and-odor impurities. However, it does not help treat infected water by bacteria or water containing heavy metals.
- Ultrafiltration (UF) kills germs such as bacteria, viruses, and certain parasites but is not used to treat fungal infections. It is not ideal for dissolved solids.
- Distillation is expensive and time-consuming, but it produces high-quality water that is also clean and safe for use.
3. System Type
There are two basic types of home water filtration systems currently on the market for purchase by consumers.
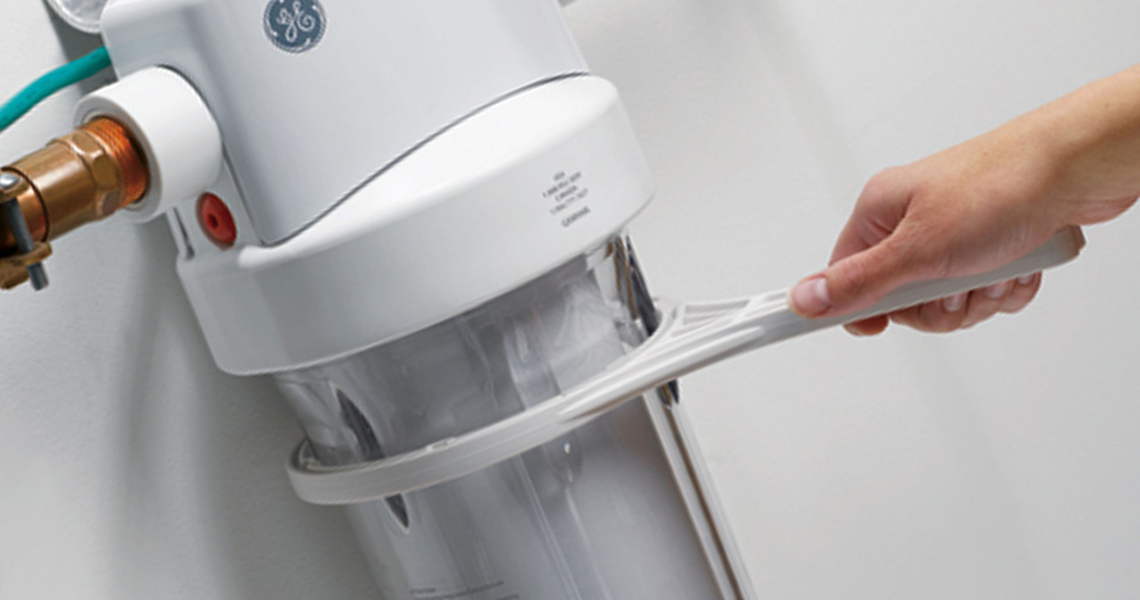
- Point-of-Use (POU): The type placed under the sink delivers water filtered directly to a particular faucet. These are small and perfect for one-time hit use only, primarily when determining single independent criteria points.
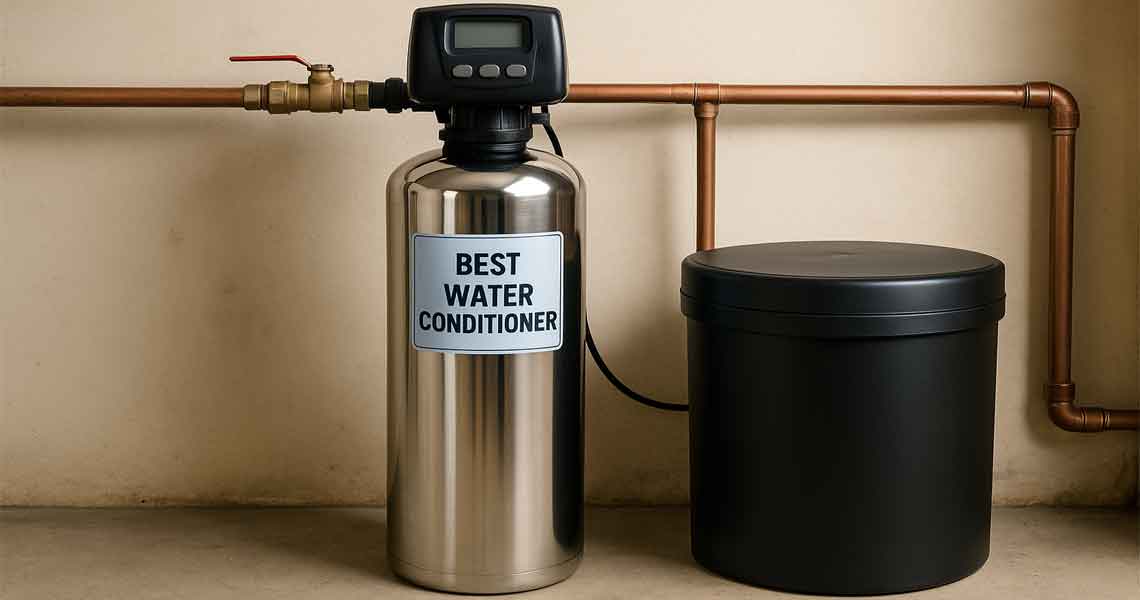
- Whole-House: It is fixed at the main water line to purify water used in the whole house. It is very suitable for any part of the home but a bit challenging to install.
Prepping for Installation of home water filtration system
If you have selected the type of home water filtration system that is most appropriate to install in your home, the next step is to prepare for the installation. If you’re unsure how to choose a water filtration system , start by considering factors like water quality, system capacity, and maintenance requirements. Here’s what you’ll need:
- Tools: Based on the type of system, one may require a wrench, screwdriver, drill, pipe cutter and Teflon tape, among others.
- Space: Make sure there is adequate space for the installation of the system, particularly if you are using point-of-use systems. There should be enough space under the sink for the system and its components.
- Instructions: Before installing the software, make sure that you read through the guides in your system’s manual.
- Safety: To ensure safety, turn off the water supply at the point where you will be installing the system. This is important, especially when installing it, since it may lead to some leakage.
Installing Your Home Water Filtration System
Point-of-Use System Installation
- Filter Connection: To ensure that the system’s filter cartridge fits correctly, you should fix it to the right housing as recommended by the manufacturer.
- Water Line Connection: Locate the copper pipe that provides the cold water supply behind the sink. Remember to cut the line using a pipe cutter and ensure that the cut ends are smooth. Connect the water inlet line to the cut cold water line using the adapters and Teflon tape to ensure the correct connection. Again, get a wrench to tighten or make the necessary connections, but these should not be overtightened.
- Drain Line Connection (Optional): In POU systems that may have a specific model and design, a drain line may discharge wastewater. Connect the drain line to the system’s proper outlet and ensure the discharge ends at an acceptable drain location.
- Leak Check: Check all the parts of the faucet that connect and make sure that they are not loose and do not cause water leakage when opened. Ensure if there is a disconnect or bad part and solder connections or obtain new parts where needed.
Whole-House System Installation
- Locate the Main Water Line: Find your main water shut-off valve. Most are outside the house where the water service is connected.
- Bypass Valve Installation: This makes it possible to shut down the filtration system to clean without interfering with the water supply all over the house.
- System Connection: Connect the system to the main water line as the instructions provide the position for the bypass valve on the water line.
- Pipe Cutting and Connection: Carefully disconnect the primary water supply line and attach Endurance with the correct connections, following conventional plumbing practices.
Post-Installation Procedures
- Flush the System: Once installed, turn on the water supply to the unit and allow water to circulate through the filters for 5-10 minutes to flush out all trapped air bubbles and poorly compacted filtration media. Do not use this water to wash since it might contain contaminants after the flushing process. This process may take several minutes, and you may see some changes in the colour of the water first, which is quite acceptable. The water should be flushed until clear water runs out of the faucet.
- Test the Water (Optional): You may also consider taking a sample of the filtered water to have it analysed for any other contaminates you may be concerned about. You can hire local water testing companies or carry out tests yourself using test kits.
- Filter Maintenance: However, some of these filters should be replaced appropriately at regular intervals to make it efficient. Some manufacturers may have provided filter change schedules for the process. This ensures that the filter is changed on time and that low filtration capacity isn’t experienced.
- Enjoy Clean Water! Since your home water filtration system is in place and working, you can now get your water right from the tap and talk of fresh water. Enjoy the enhanced water taste and directly benefit from a healthier source of drinking water for your family.
Additional Tips for a Smooth Installation
- Take Your Time: There is no need to rush through the process. Follow the instructions carefully to connect all the pipes and ensure that there are no leaks.
- Work Area Protection: To prevent accidents during installation, it is recommended that you place towels or drop cloths underneath the cabinets.
- Video Tutorials: Some manufacturers provide installation videos, which can help you follow the process more easily.
- When in Doubt, Consult a Professional: If you encounter trouble or have questions about any of the steps, do not hesitate to seek the help of a professional plumber.
Conclusion
Filtering drinking water at home can be a very satisfying project, giving you control over the water you consume. Investing in the best whole home water purification system, such as those provided by Wellness Water Purification, ensures that every tap in your house delivers clean, safe water.
If you are equipped with the right tools and good planning, the following tips should greatly assist you in completing the job independently. However, if complexity is observed, you should not hesitate to seek professional assistance. However, no matter which course of action you decide, the results will be prominent and well worthwhile – clean filtered for your family to drink. So, go forth, conquer your kitchen sink, and enjoy the refreshing rewards! Contact us now.